- A+
Introduction
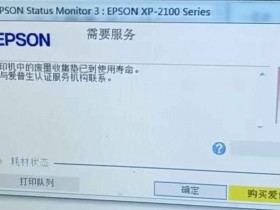
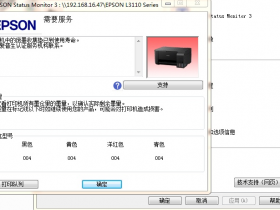
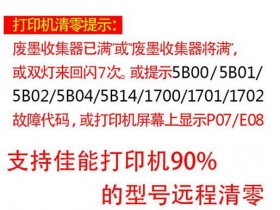
Epson SureColor Pro 4000 is a high-quality printer used by professionals for graphic design, fine art prints, and photographic prints. Occasionally, it may be necessary to reset the printer due to some issues such as broken firmware, error messages, or memory problems. Resetting the printer can help to resolve many issues, but be sure to back up any important data before proceeding. This article will provide you with a step-by-step guide on how to reset an Epson SureColor Pro 4000.
Step-by-Step Guide on How to Reset an Epson SureColor Pro 4000
To reset an Epson SureColor Pro 4000, you need to follow these steps:
Step 1: Turn off the printer and disconnect all cables from the printer.
Step 2: Press and hold down the Pause, Down arrow, and Menu buttons simultaneously.
Step 3: While still holding down these buttons, press and hold down the Power button for approximately 3 seconds.
Step 4: Release the Pause, Down arrow, and Menu buttons.
Step 5: Press the Up arrow button twice.
Step 6: Press the Menu button.
Step 7: Press the Down arrow button once.
Step 8: Press the Menu button.
Step 9: Press the Down arrow button once.
Step 10: Press the Menu button.
Step 11: Press the Up arrow button once.
Step 12: Press the Menu button.
Step 13: The printer will now be reset, and the message “Initial Ink Charge” will appear on the printer’s LCD.
Conclusion
Resetting an Epson SureColor Pro 4000 can help to resolve many issues with the printer. Although it may seem daunting to some, the process is straightforward and easy to follow. Just be sure to back up any important data before proceeding. If you encounter any problems during the reset process, be sure to seek help from a professional. With the steps outlined in this article, you can quickly reset your Epson SureColor Pro 4000 printer without any hassle.
- 我的微信
- 这是我的微信扫一扫
-

- 我的微信公众号
- 我的微信公众号扫一扫
-